In Datablist, your data is structured with collections that contain items. All items inside a collection get their data structure from the collection properties.
For example, a collection can hold people's data to manage contacts (for subscribers, leads, or employees listings). Another collection can be used to store websites (for b2b prospects, competitor websites, Venture Capital funds, etc.).
Collections are linked to your account workspace and a workspace can have an unlimited number of collections.
Create a collection
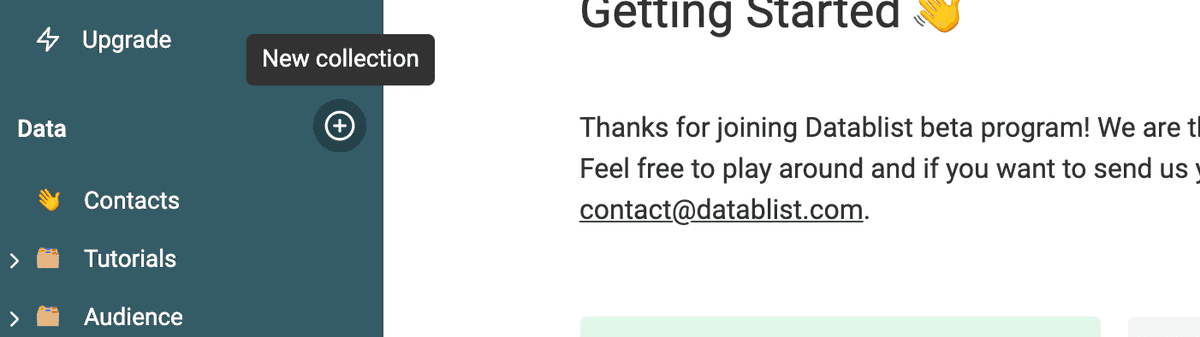
To create a new collection, click on the + button in the sidebar.
When you create a new Collection, it'll be named "Untitled Collection" with an 👋 by default. You can change this title and icon at any time by clicking on the title or the icon.
A new collection has no data structure. To start adding items, you have to create properties. Create them manually or import CSV/Excel files to create properties based on the file columns.
Organize your data with folders (nested collections)
When you are dealing with too many collections, it's time to organize them. An easy solution is to group them together in a folder. Click and hold a collection in the sidebar, and move it over another one to create a parent folder.
Delete a collection
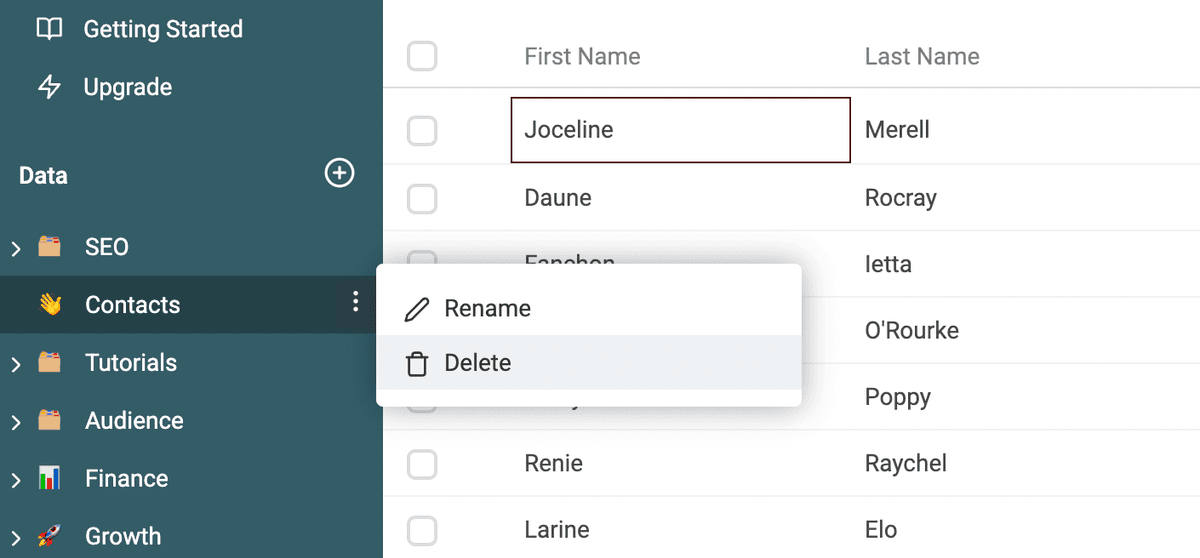
To delete a collection, its properties, and all its items, select "Delete" in the menu available for each collection in the sidebar.
Important: Datablist data structure is hierarchical. Deleting a collection deletes all its items.
Delete a collection folder
The "delete" action is also available for collection folders. When deleting a collection folder, all its collections and items will be deleted.
Delete several collections or folders
Use bulk delete when you want to remove several collections in one action. You can select collections, folders, or both.
1. Open bulk delete mode
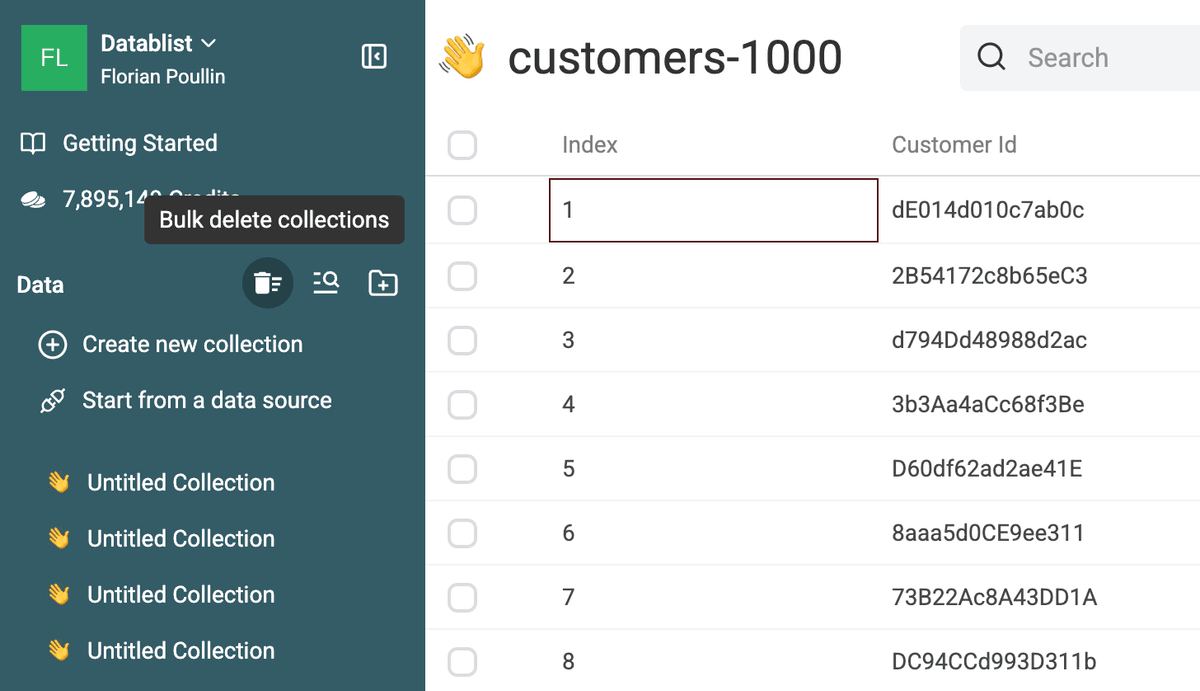
Move your cursor over the Data heading in the sidebar, then click Bulk delete collections.
2. Select collections and folders
Move your cursor over a collection or folder, then click its checkbox. The counter shows the total number of collections covered by your selection.
Selecting a folder includes every collection and nested folder inside it. Folders do not increase the collection counter. You can still click a collection name to open it without changing your selection.
Click the X next to the Data heading to exit bulk delete mode and clear the selection.
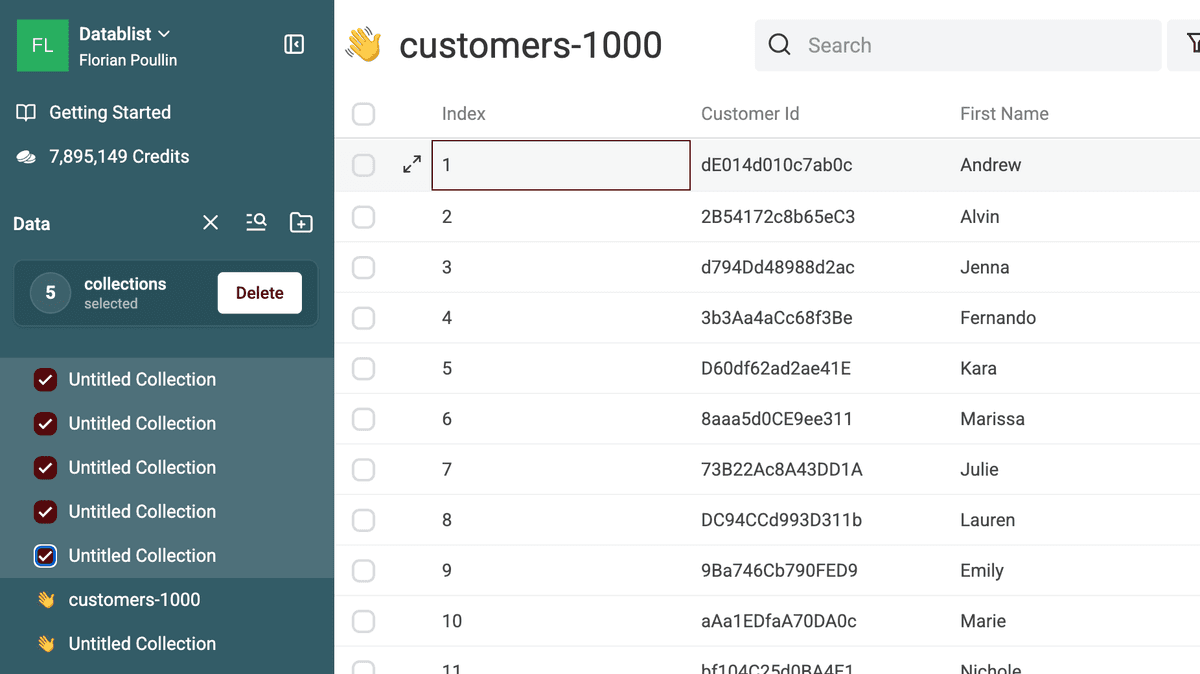
3. Review and confirm the deletion
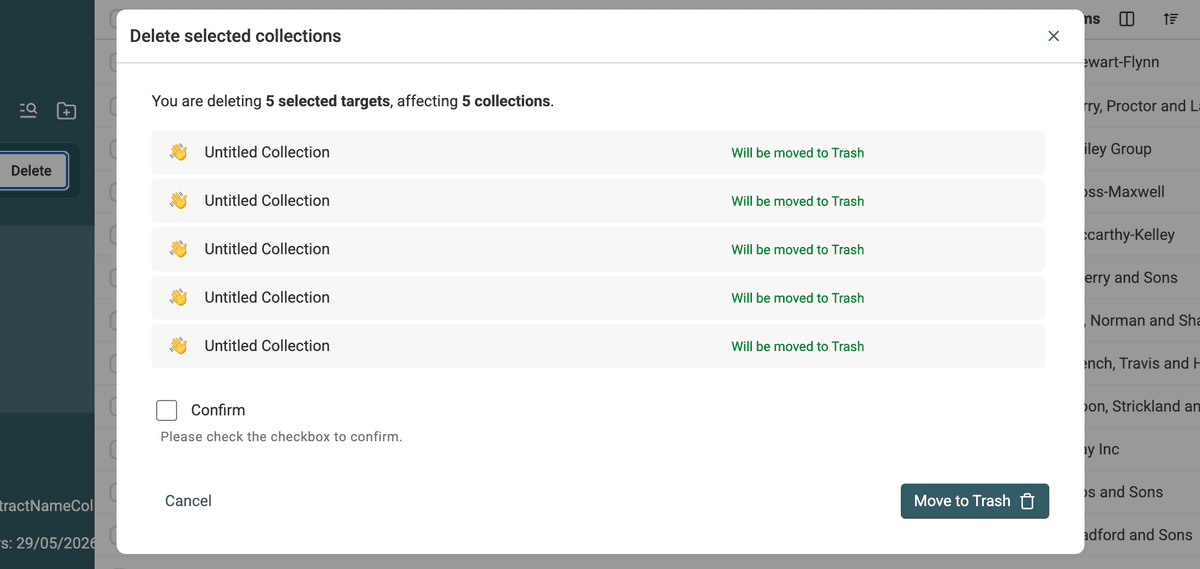
Click Delete to open the confirmation window. It lists selected folders and their collections as a nested hierarchy. Each row shows whether the data will move to Trash or be permanently deleted.
Review the list, select Confirm, then click the deletion button. The success notification reports how many collections and folders were deleted.