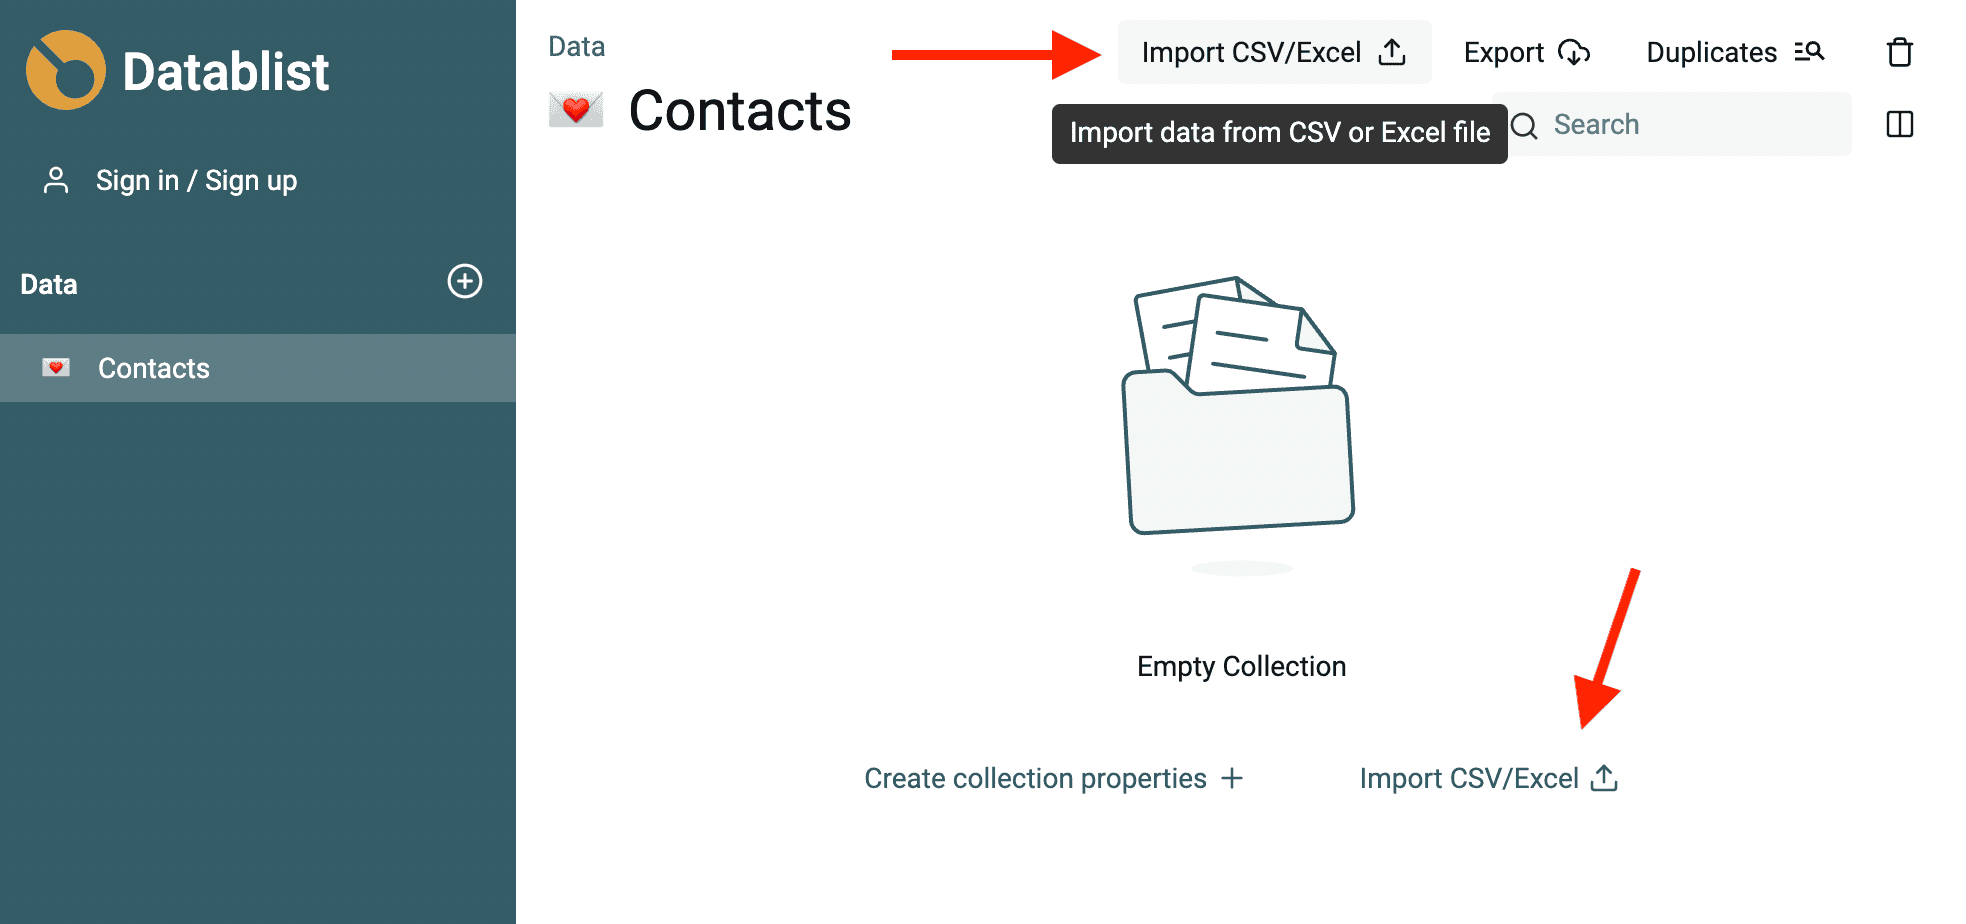
To import a CSV or Excel file, open a collection and start the file import. You can also paste rows from a spreadsheet or use the Datablist API. Choose the method that matches your source:
- Using external files
- With copy/pasting from spreadsheet tools or tabular data
- Or using Datablist API
Import from a CSV or Excel file
Datablist is a great CSV viewer and editor. Use CSV and Excel files to import data into your collection. Select the collection where your data will be imported or create a new collection if needed.
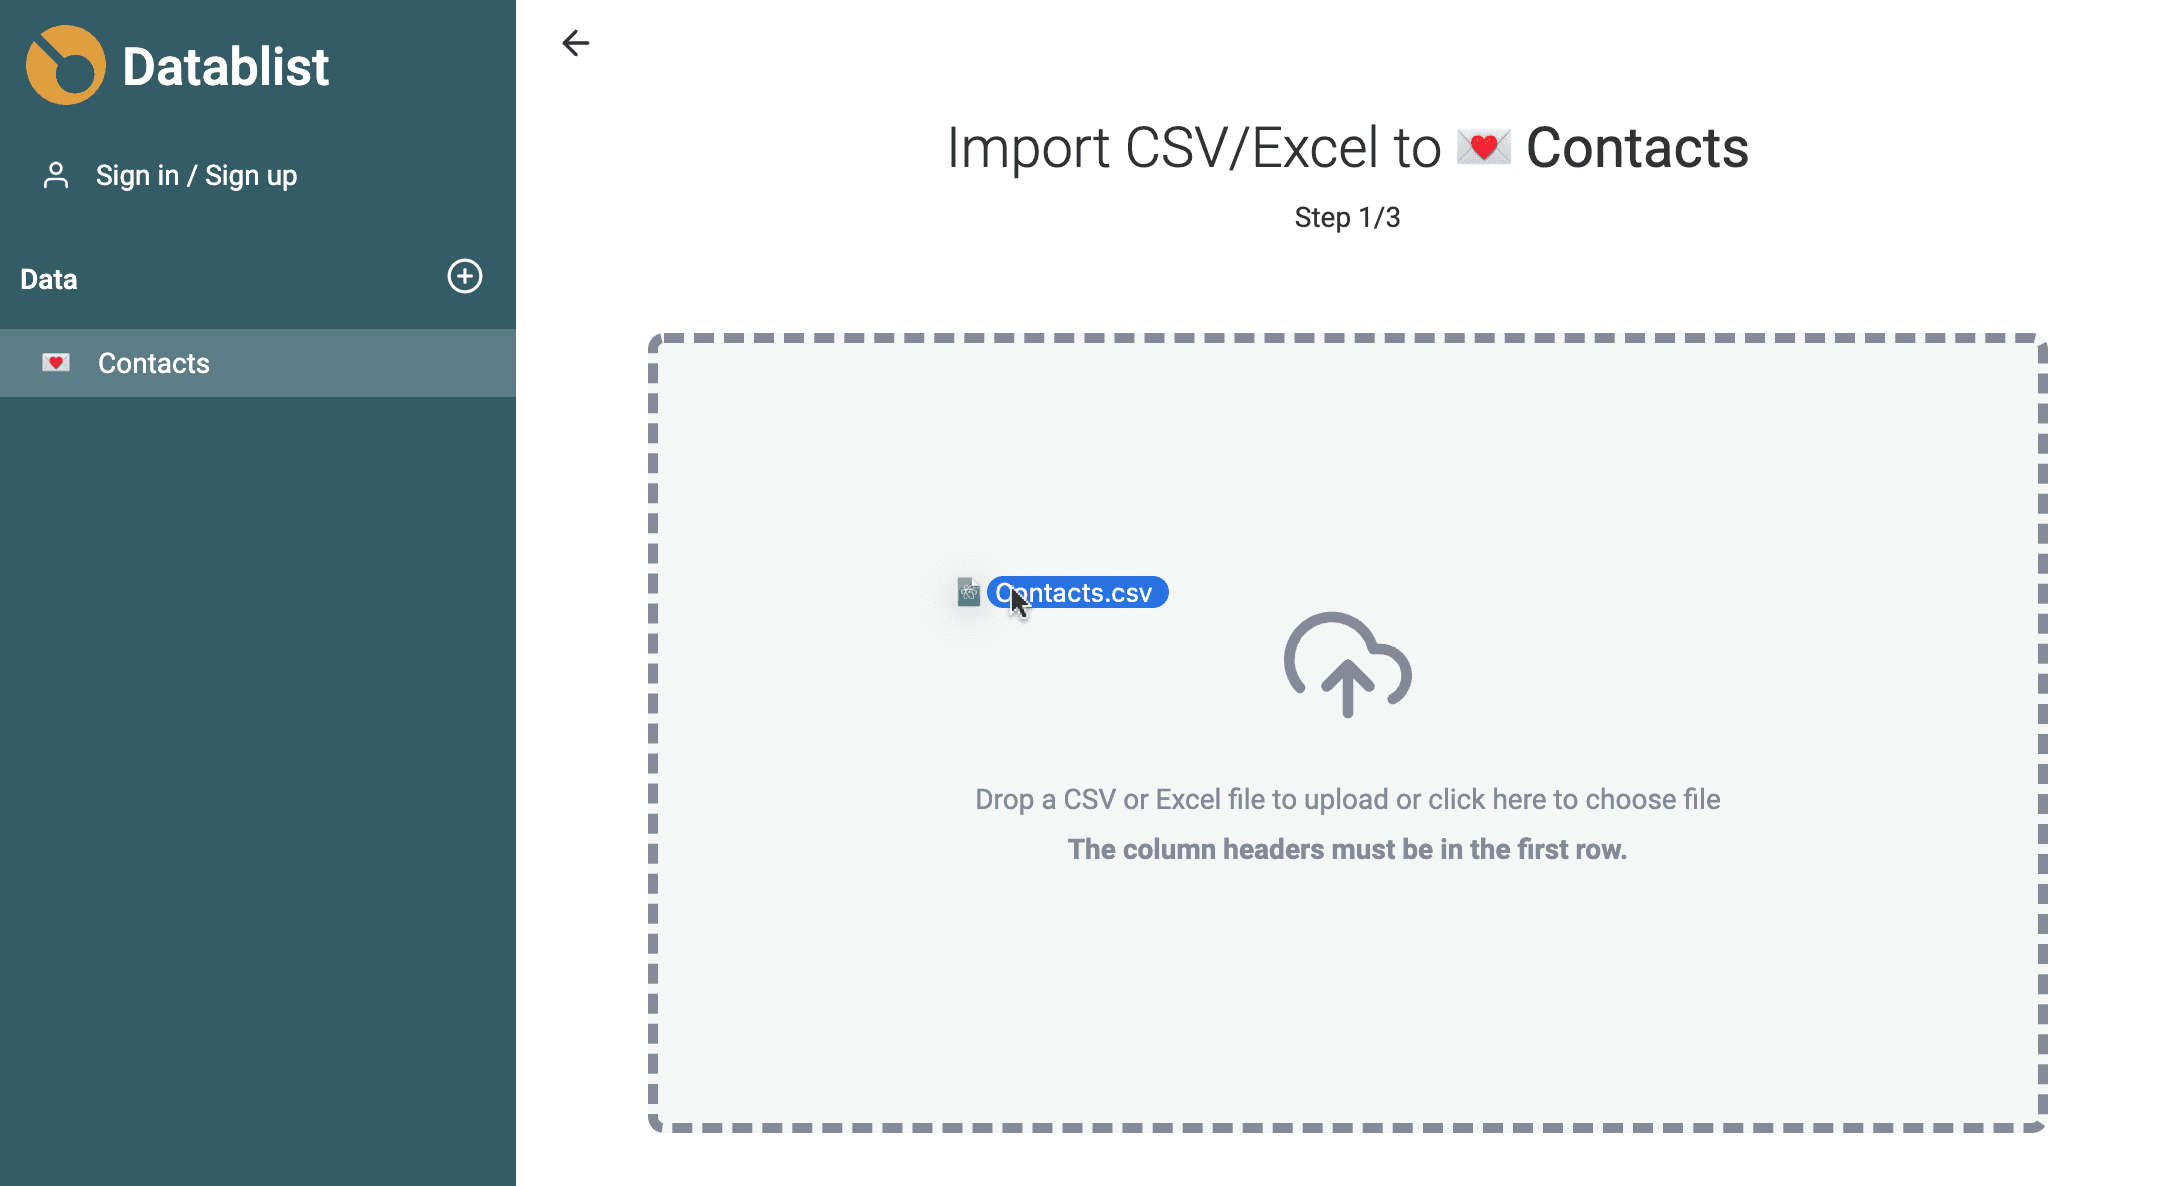
On the first step, click the load zone to select a file from your computer, or drag and drop a file to get started. Both CSV and Excel files are accepted:
- CSV files must have a
.csvfile extension. - Excel files must have one of the following file extensions:
.xlsx,.xls,.xlsm,.xlsb,.ods.
Notes on importing an Excel file:
- Cells with formulas are imported with computed values
- Empty rows are skipped. If headers are on the second row, it will work.
If you need only a range from an Excel workbook, export the selected cells to CSV first. Check hidden and filtered cells before importing that subset.
Create Properties on empty collection
When starting with an empty collection, the File Import assistant lists the columns from your file.
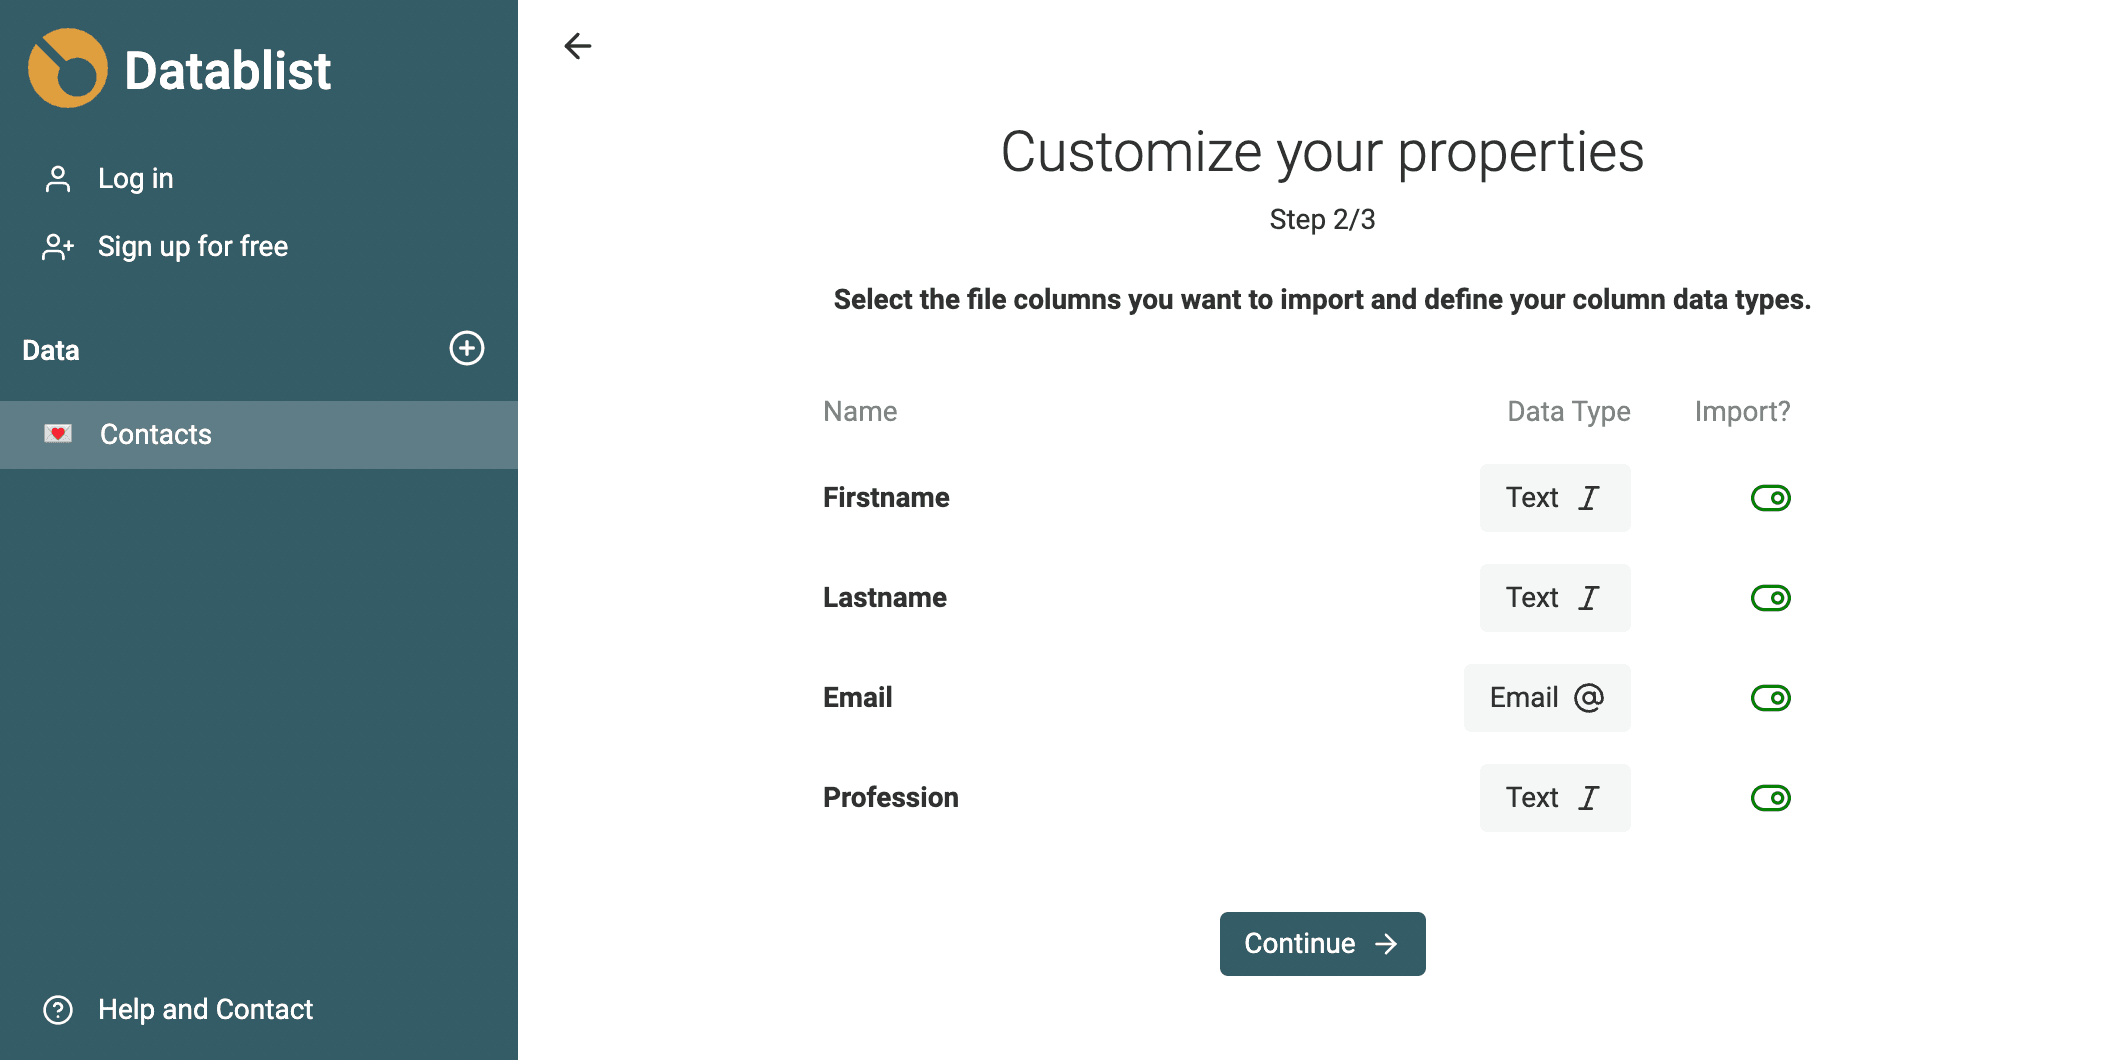
Datablist analyses the data from your file to detect each column's data type. Property types are guessed based on the first 100 items read on the file. For example:
- Columns with valid emails (such as john.smith@example.com) are defined as Email
- Columns with full URLs (with HTTP, HTTPS or FTP protocol) are defined as URLs
- Columns with text longer than 70 characters are defined as Long Text
- Columns with valid ISO 8601 DateTime formats are defined as DateTime
- Columns with
Yes,No,1,0,True,False,Checkedare detected as Checkboxes - Columns with valid numbers are detected as Number
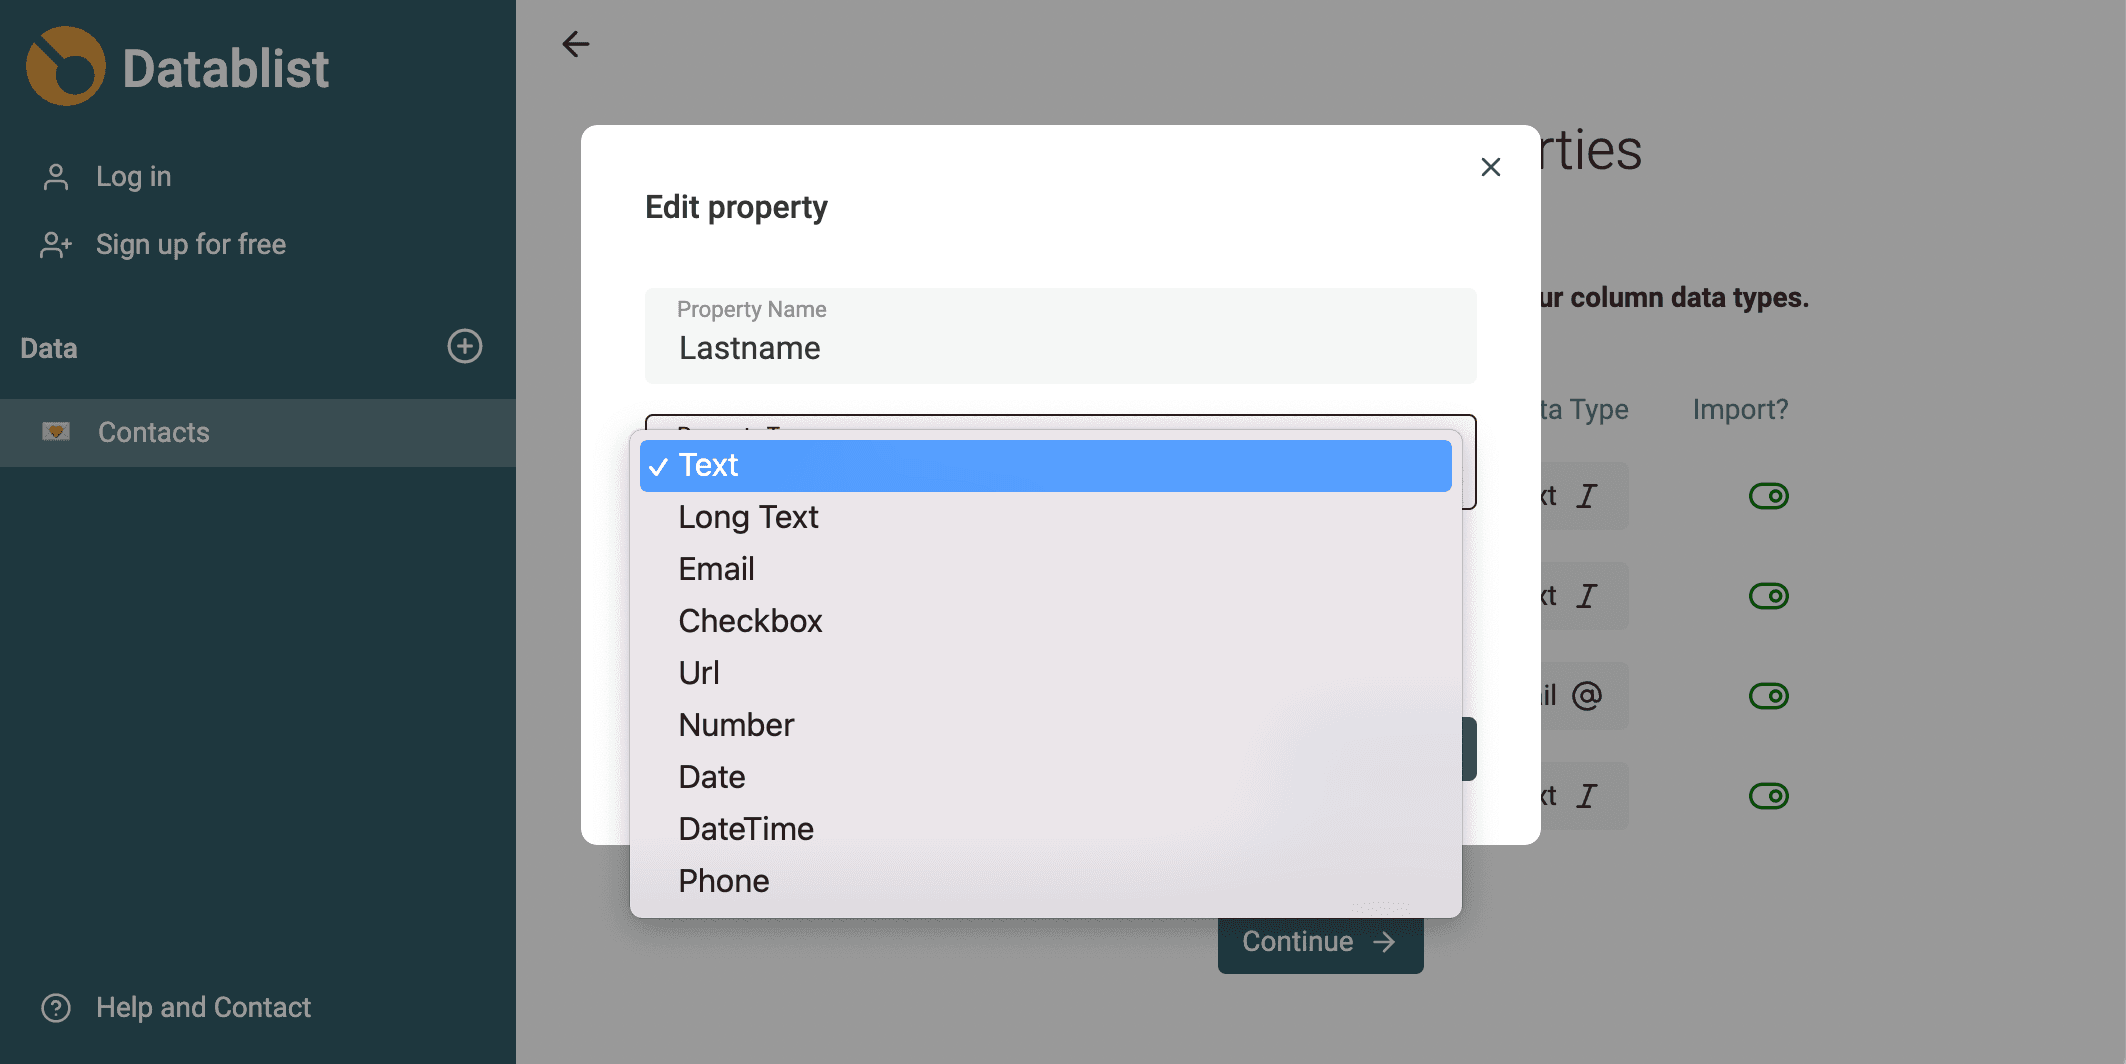
To change a suggested type or column name, click the Data Type button before running the import.
Keep identifiers as Text. A postal code such as 02108 or a customer ID such as 000123 may look numeric, but converting it to Number removes its leading zeros. A column containing only 1 and 0 in the preview may be suggested as Checkbox. Choose Text when those values are codes rather than measurements or true/false values.
The first 100 items are a sample, not a guarantee about the rest of the file. Inspect later rows in your source for mixed values and choose the destination type deliberately. When importing into existing properties, check their configured types as well as the column mapping.
Map columns if collection has properties
On an existing collection with at least one property, you will be asked to map the file columns with your collection properties. When listing your file columns, Datablist will try to auto map the columns with existing collection properties.
Notes: The auto-mapping algorithm works by removing all non-alphanumeric characters and comparing columns with property names in lower case
You can map one of your columns with the built-in createdAt property to set the items created timestamps. To do so, add the built-in property to your collection. Then during the import process, map your file column to the property.
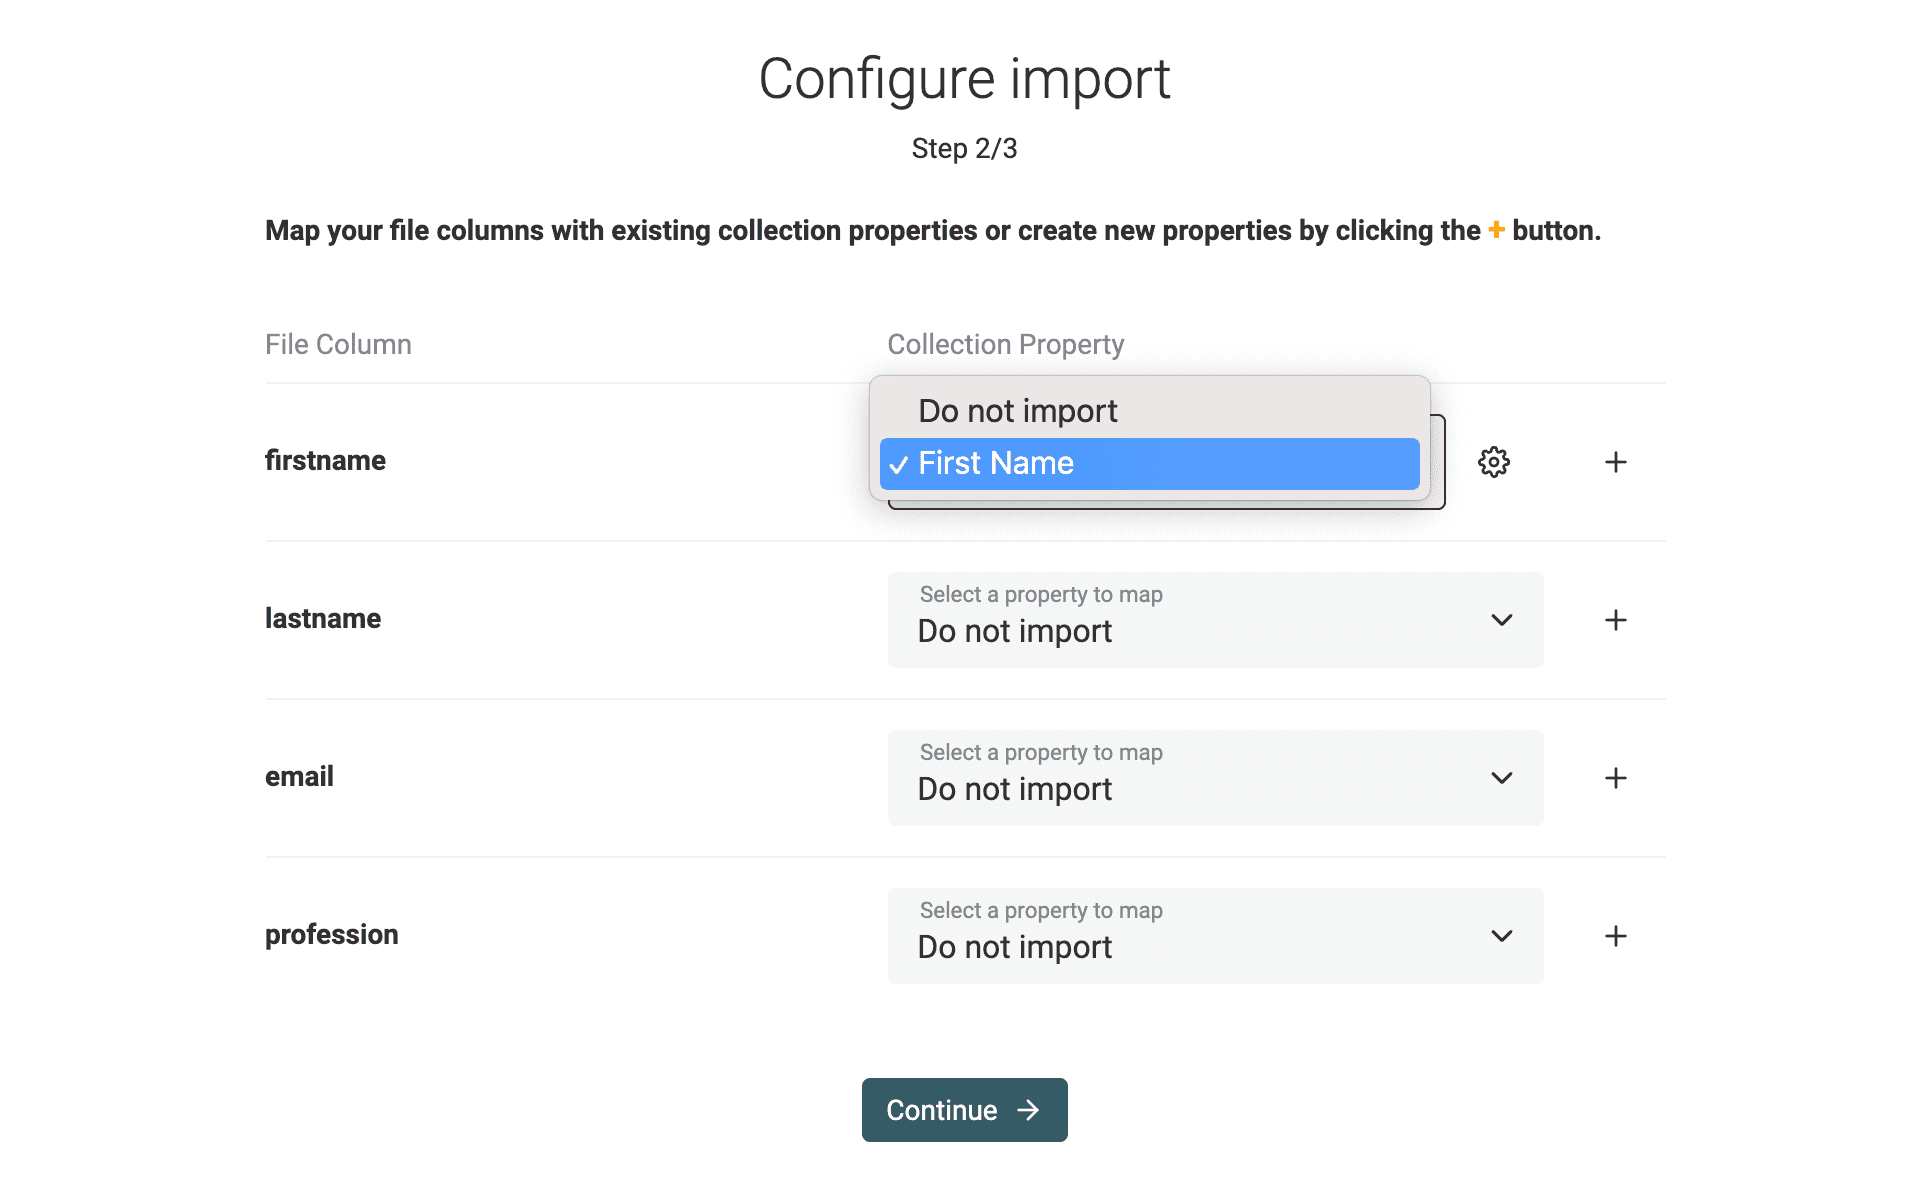
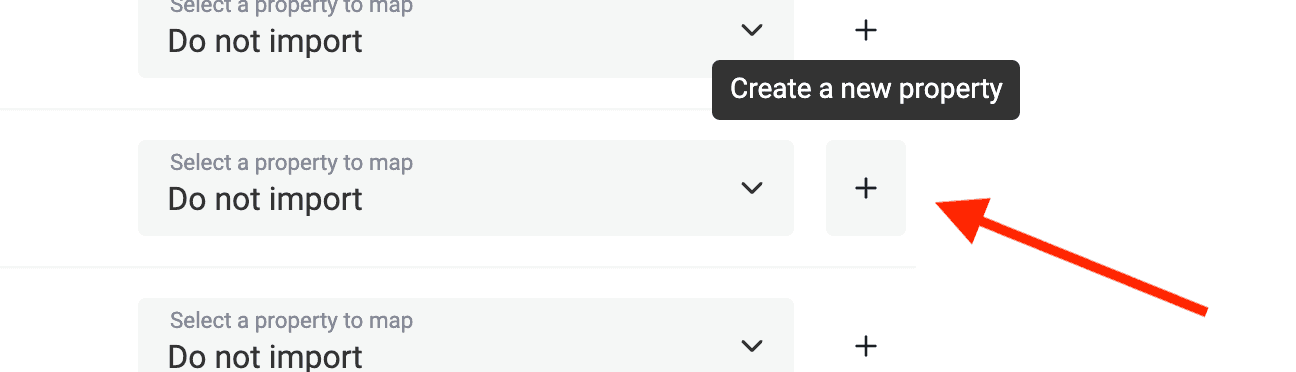
If a column doesn't have a matching property, you can create new properties directly based on the file columns. To create a new property to match your file column, click the + button next to the property mapping select.
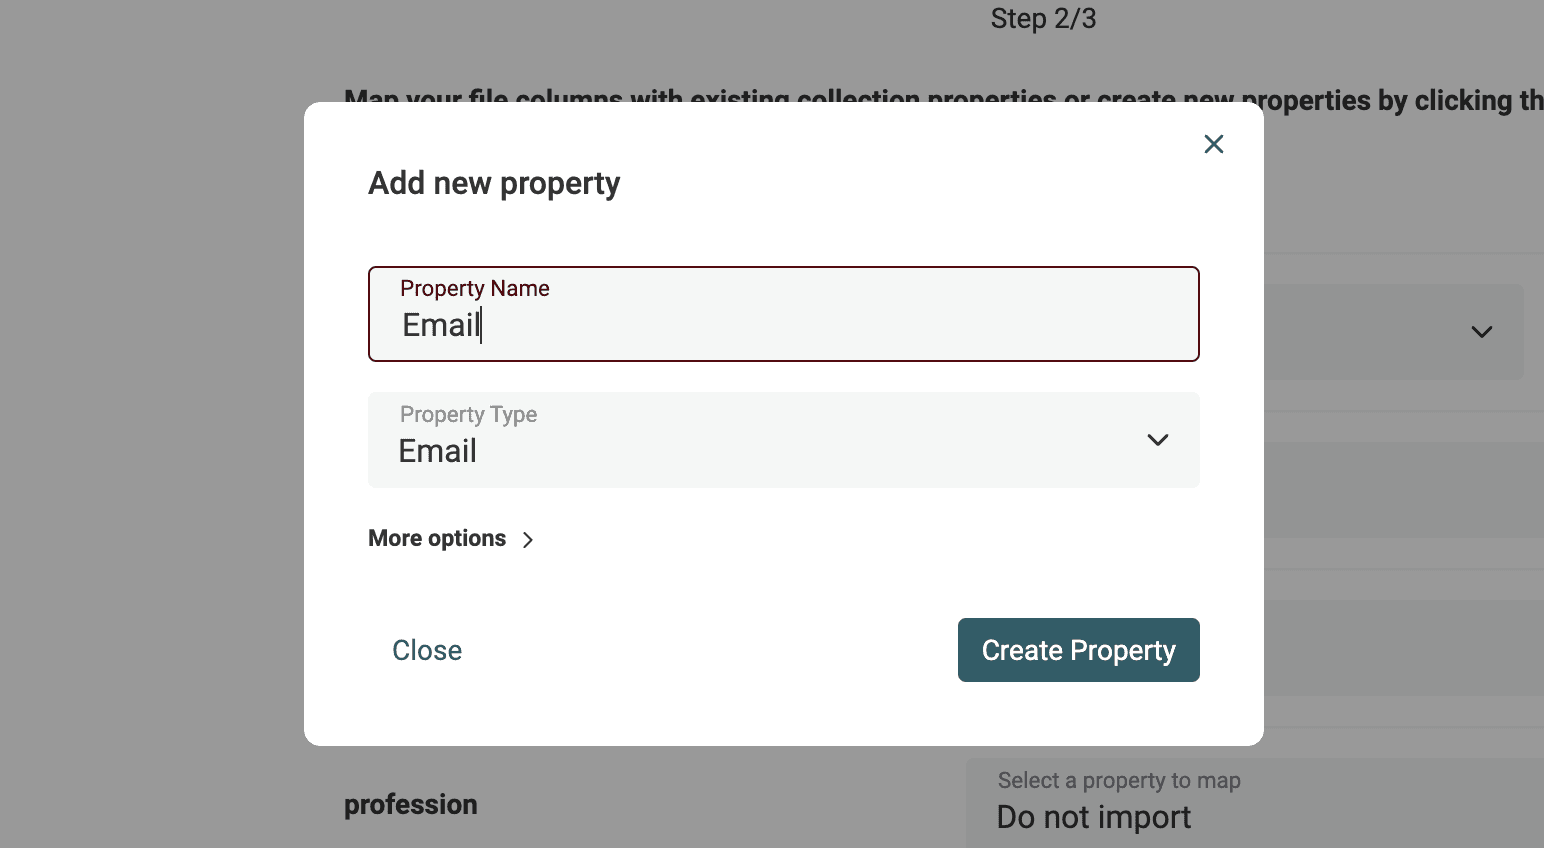
A modal will open to create a property. The name is set based on the column and a property type is suggested.
Property Settings
Property settings are accessible during the File Import process:
- Property name
- Property type
- Do not allow duplicate values - When one of your collection properties has a "Unique Values option", a Merging Option step will be shown. Please check the bulk updates documentation page to know more.
Converting to data types
After creating or mapping your columns, Datablist will parse and convert your lines according to the property data types.
- Checkbox -
Yes,No,1,0,True,False,Checked(case insensitive) are converted to checkbox values - DateTime - Must respect the ISO 8601 format. If not, data might be converted to some weird dates.
- Number - Numeric values must be written with numerical digits. Ex:
100or300.49are valid,one hundredis not valid. Decimal must use a dot separator.
When a value cannot be converted, it can remain as text in the destination property. This does not change that property's configured type. Review mixed or invalid values after import rather than assuming that every value was successfully converted. Also check values that convert successfully but change meaning, such as numeric identifiers losing leading zeros. Once the mapping and types are correct, click Import items.
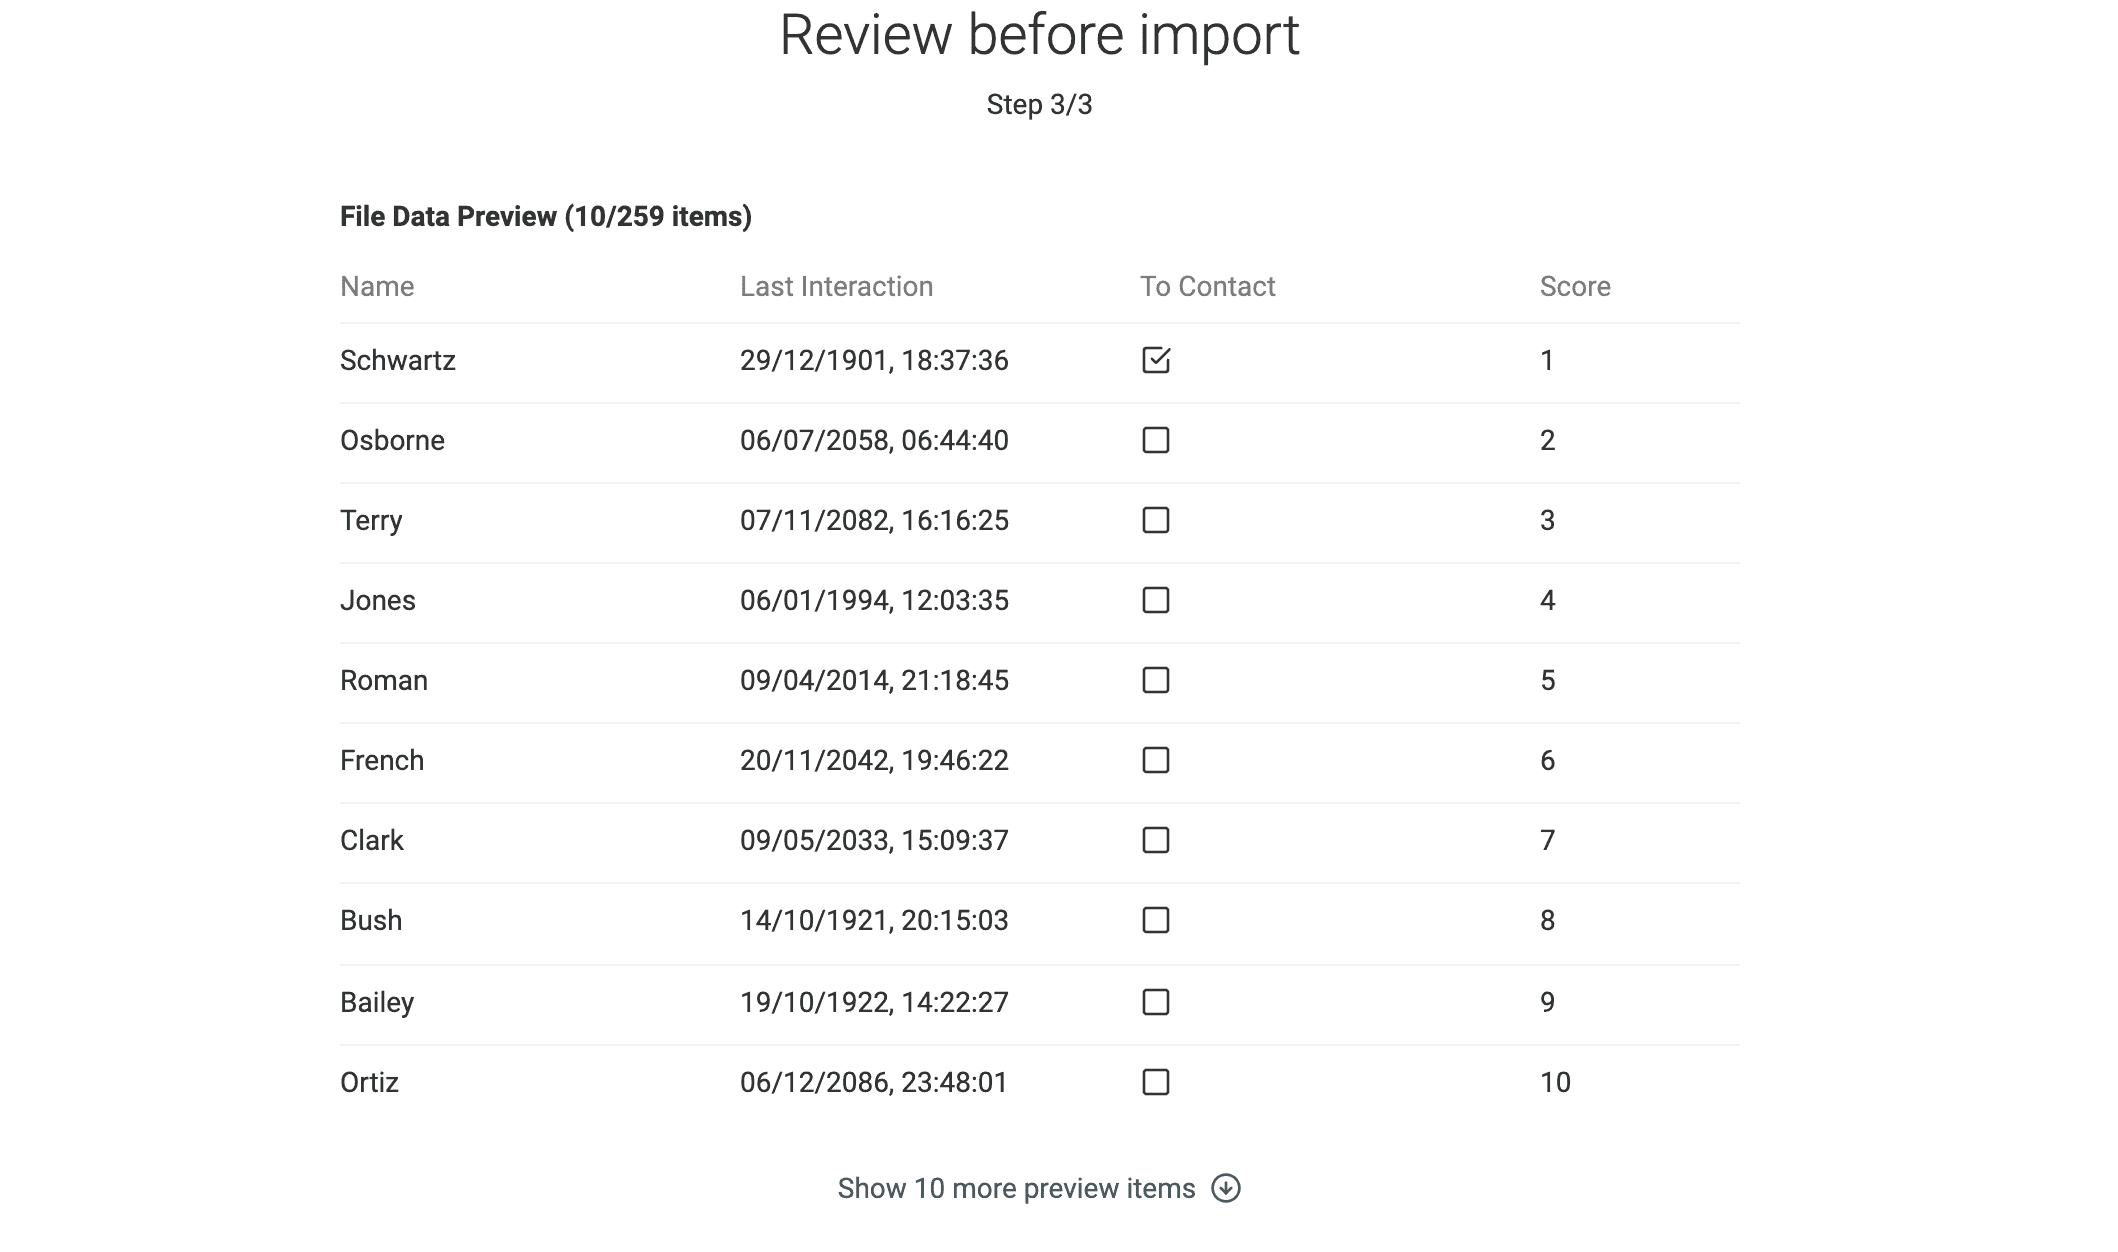
Run the import
Once ready, run the import to create the items. When the import is finished, a report is available with the number of items created. If the import stops because Datablist cannot save in your browser, use the browser storage troubleshooting guide; do not clear local site data as a first response.
For rows generated directly from a data source, the Boston job-posting import example shows output mapping and source checks before export. Keep posting identifiers when preparing that dataset for a later file import.
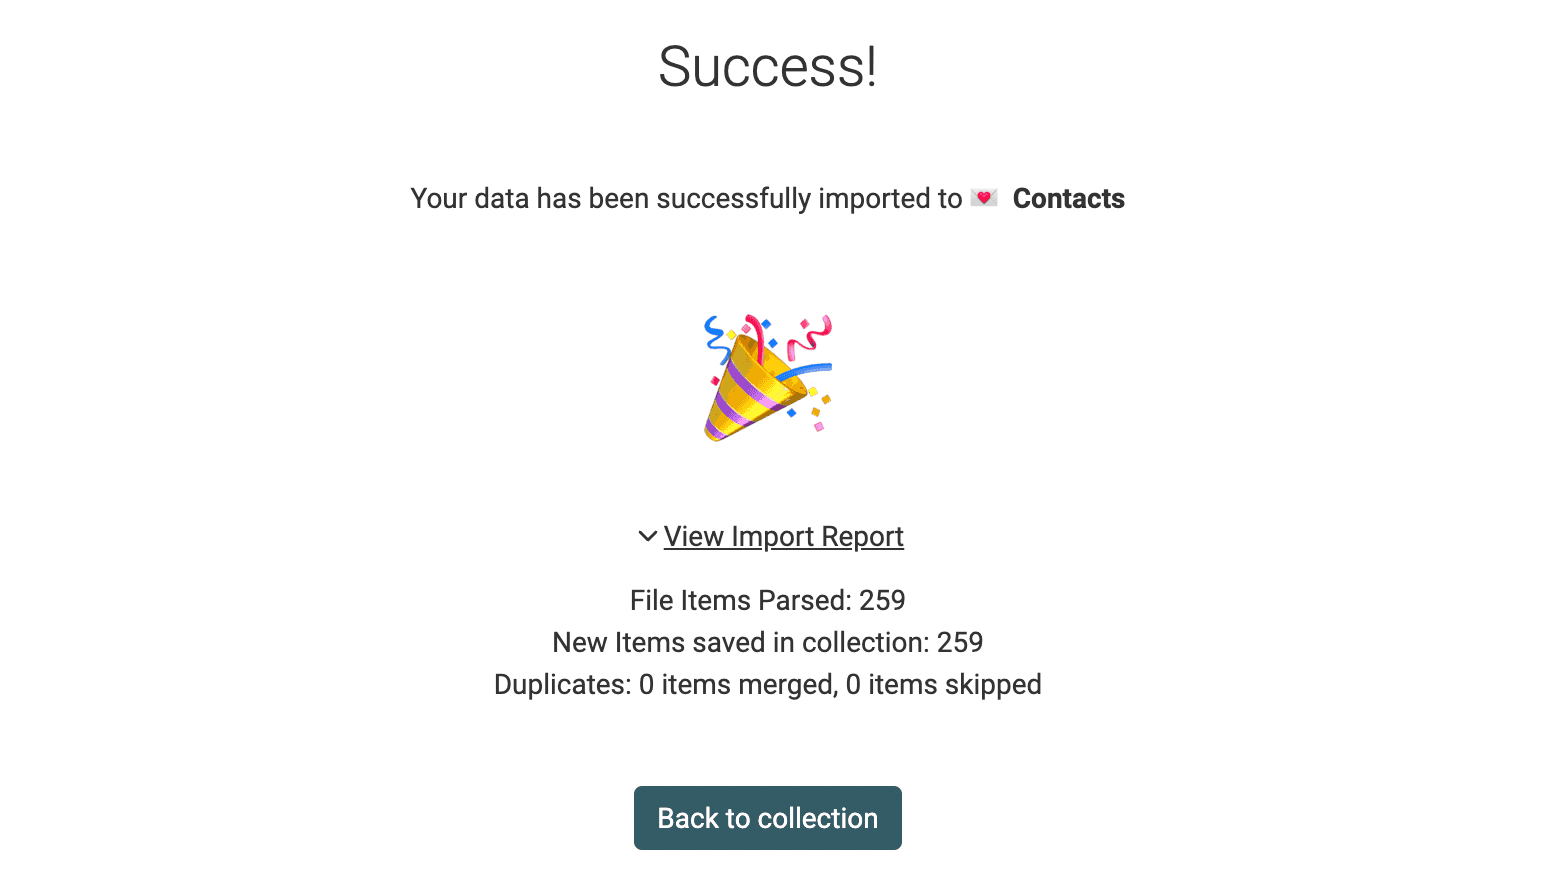
💡 Large imports take time; duration depends on file size, column values and your browser/device. Follow the import progress rather than relying on a fixed time per million rows. Use Stop Import if you need to stop, then inspect the collection before restarting so you do not import already-created rows twice.
Import with copy/pasting
To help you import data from any spreadsheet tools to Datablist, you can use copy/pasting. This feature allows you to import data from Google Sheets, Microsoft Excel, Apple Numbers, etc.
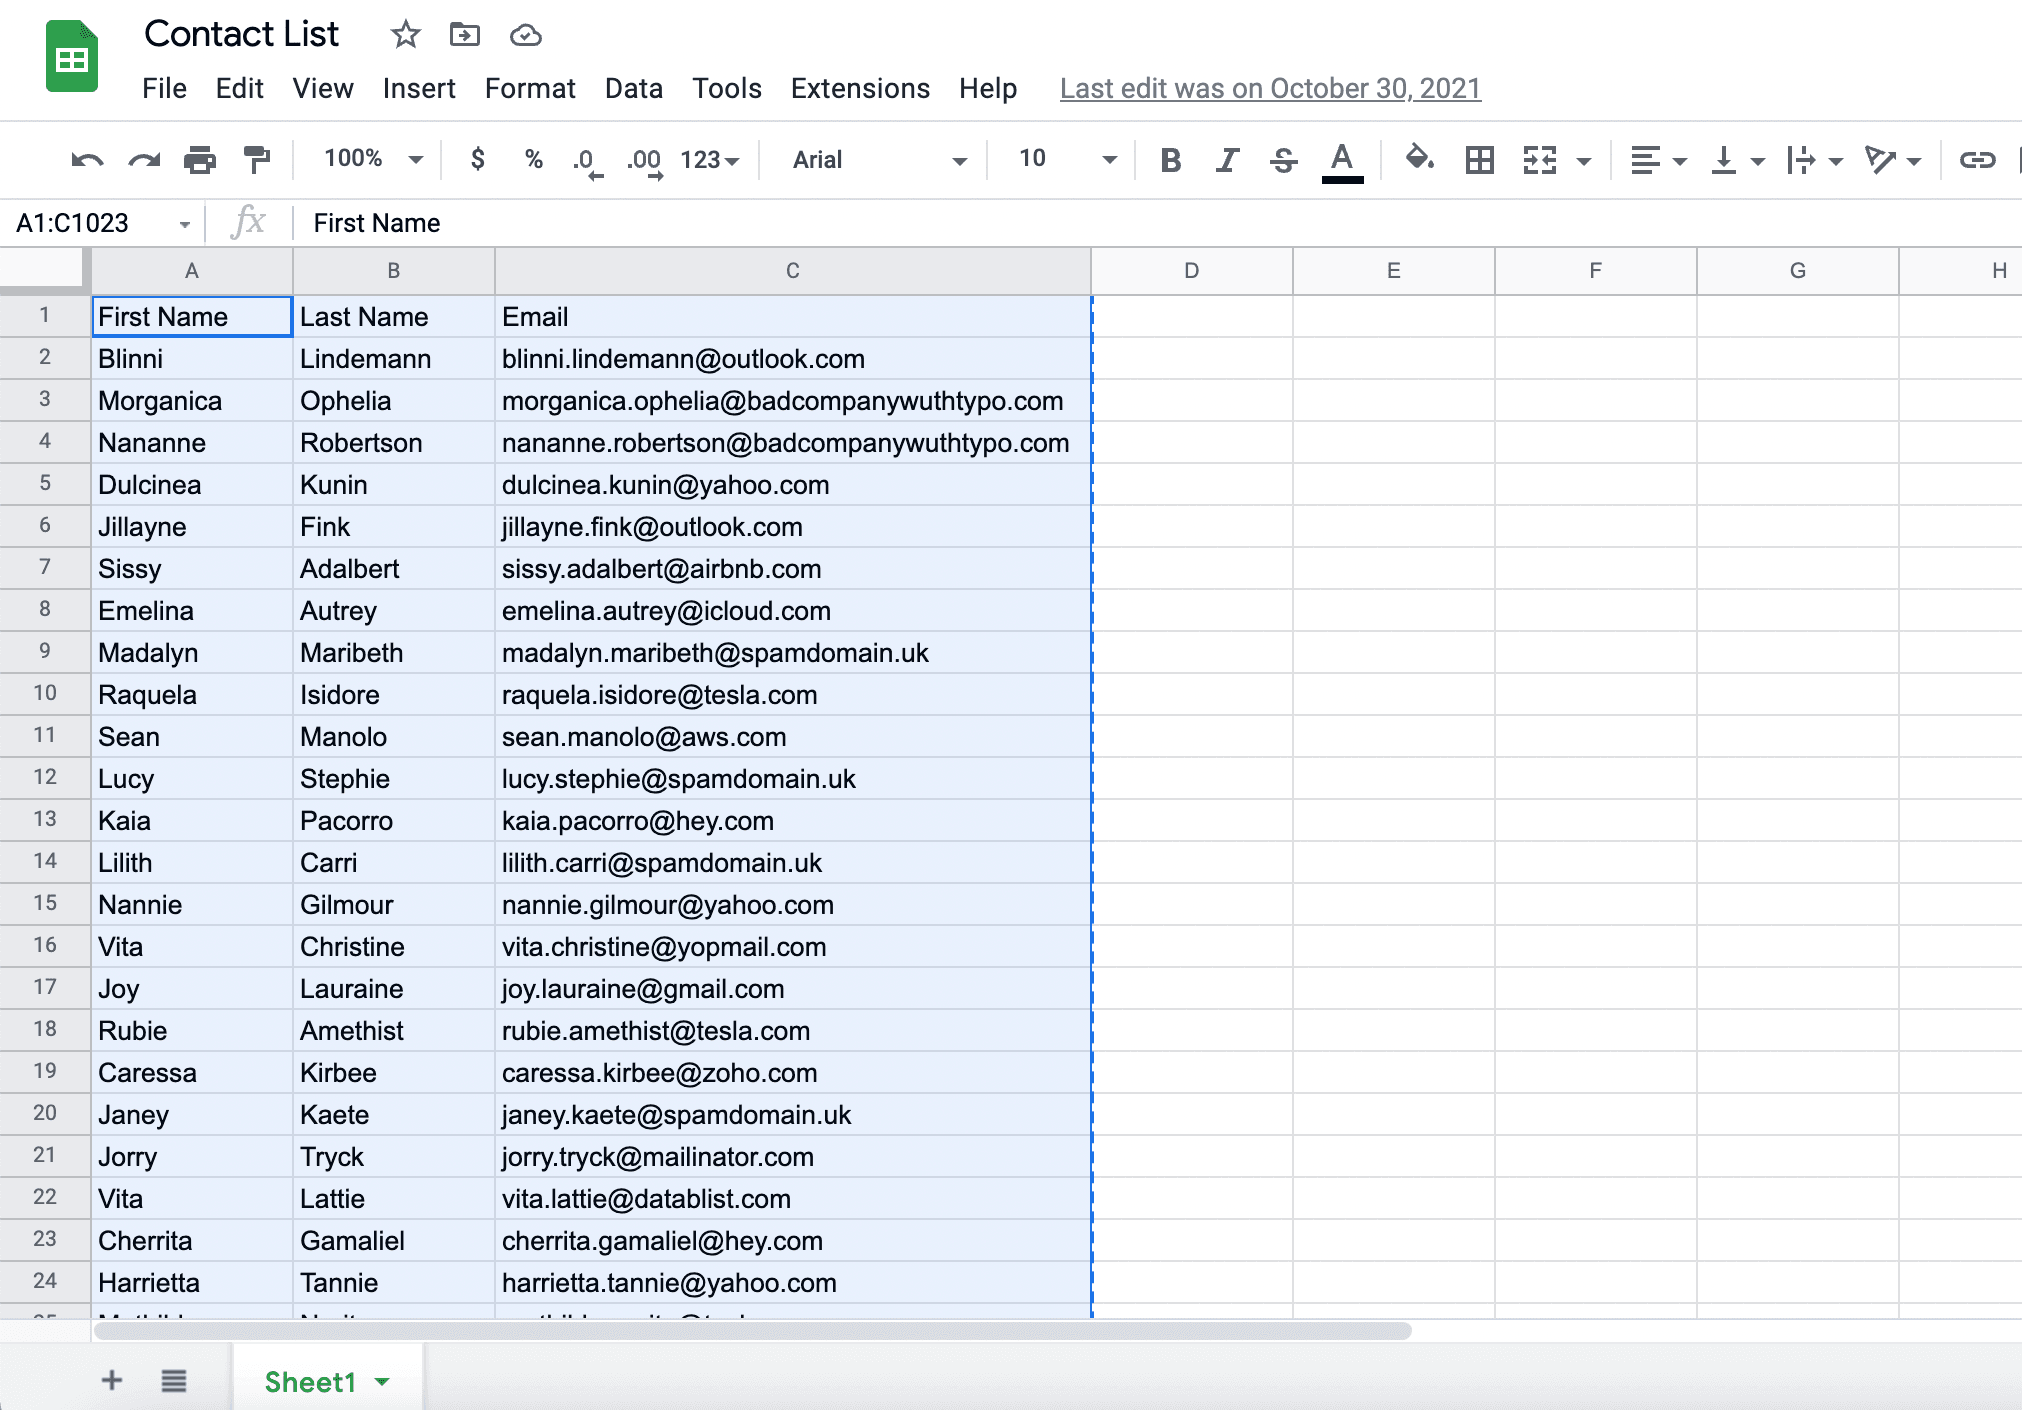
In Datablist, select the collection where your data will be imported or create a new collection if needed. Then paste your data by selecting "Edit -> Paste" in your browser menu bar or using the Ctrl + v keyboard shortcut. A modal will open to configure the data import.
First, if your pasted data include headers/columns, set "First row contains headers" to true. The first row will be skipped and used to map or create properties.
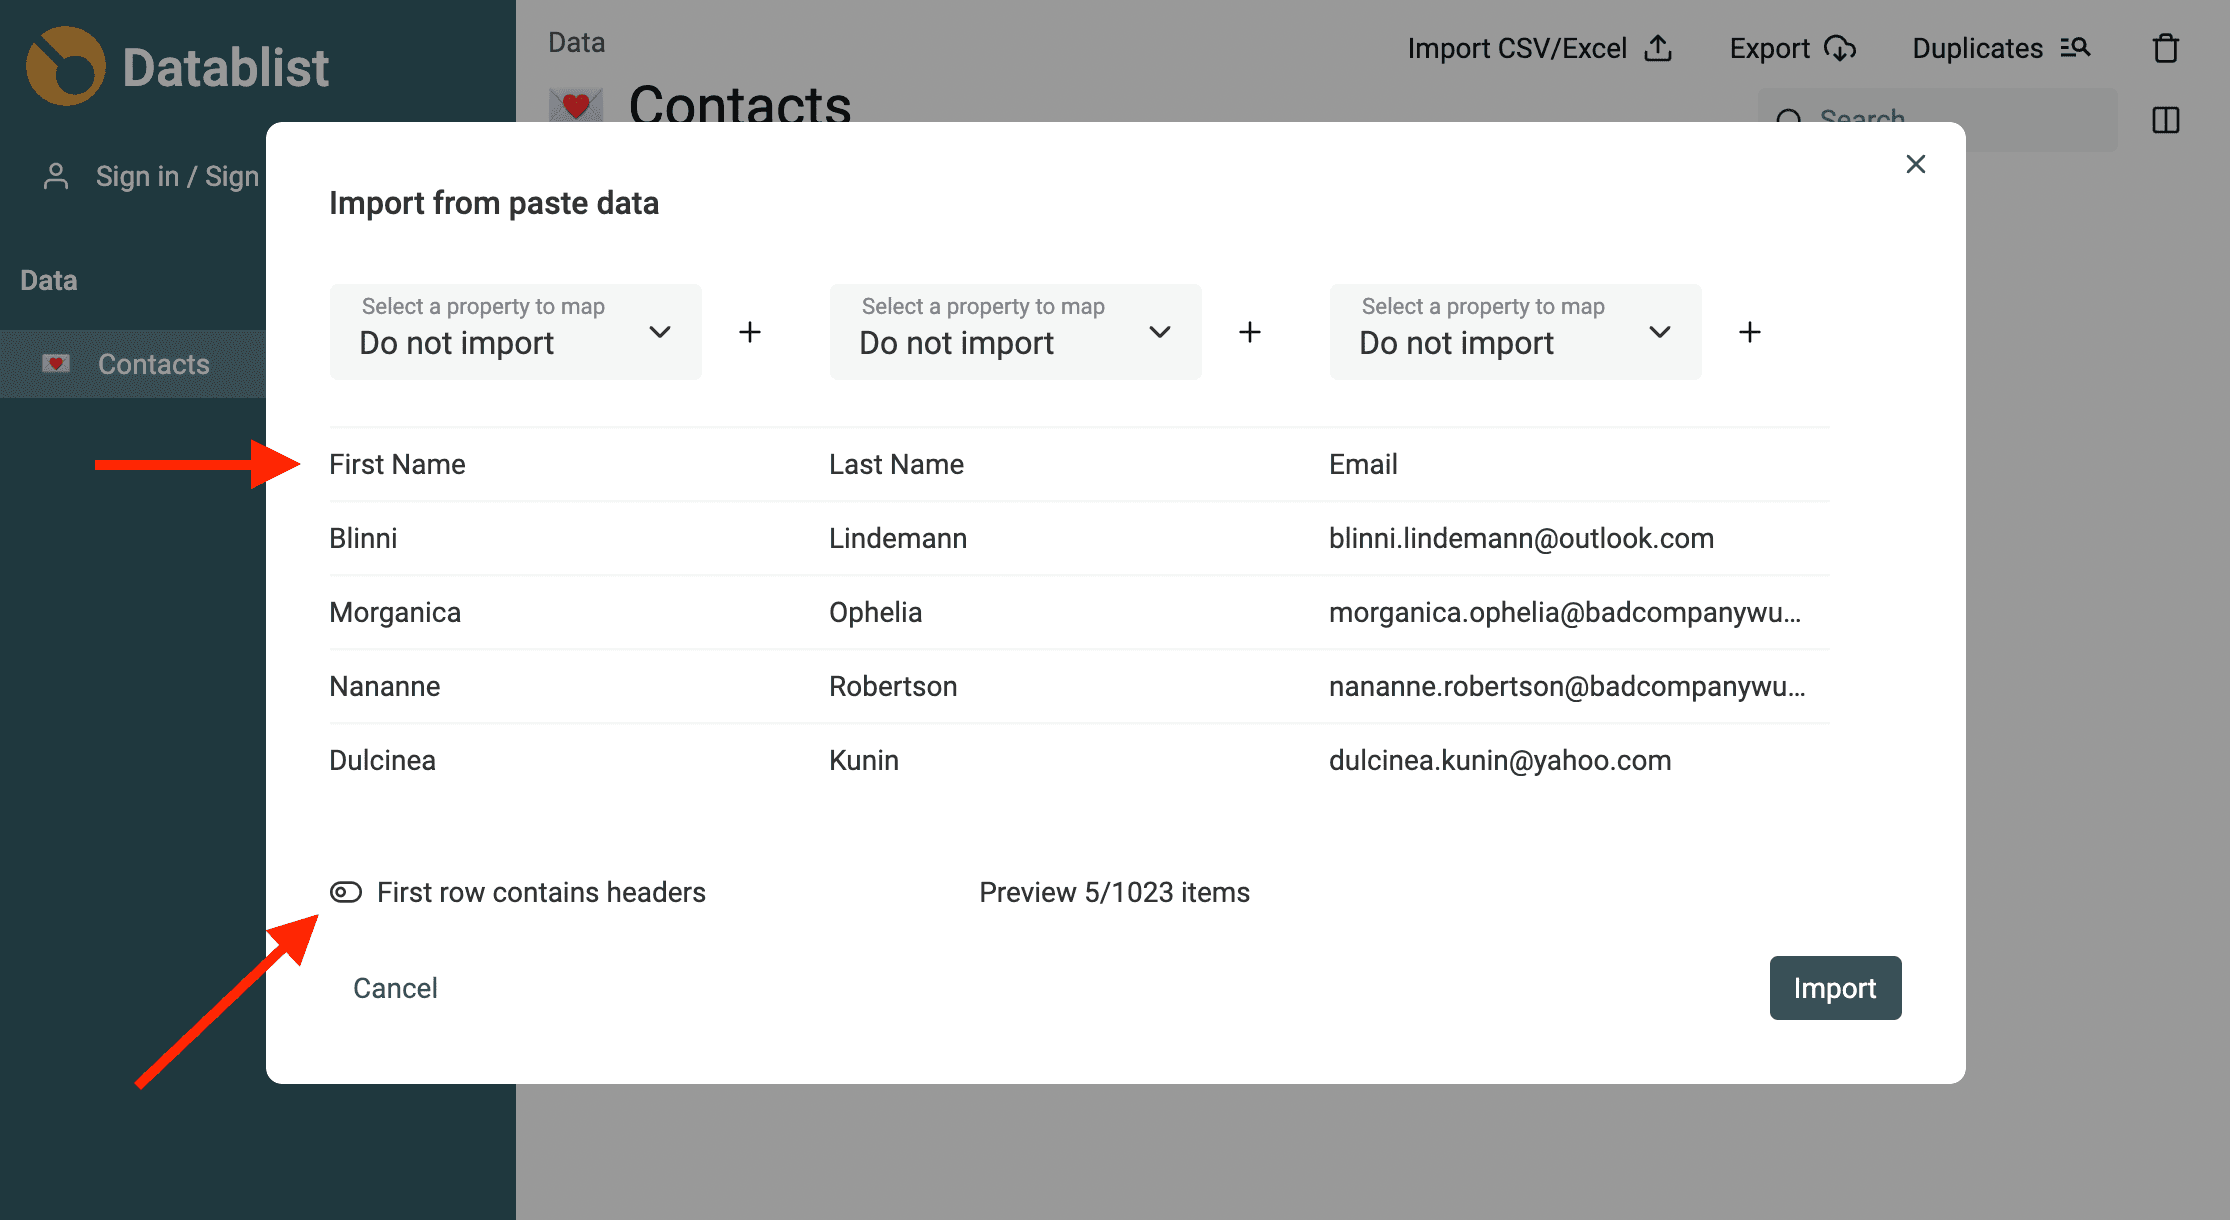
If your collection has properties, map the columns with them. If you need to create new properties that match the columns, click the + button.
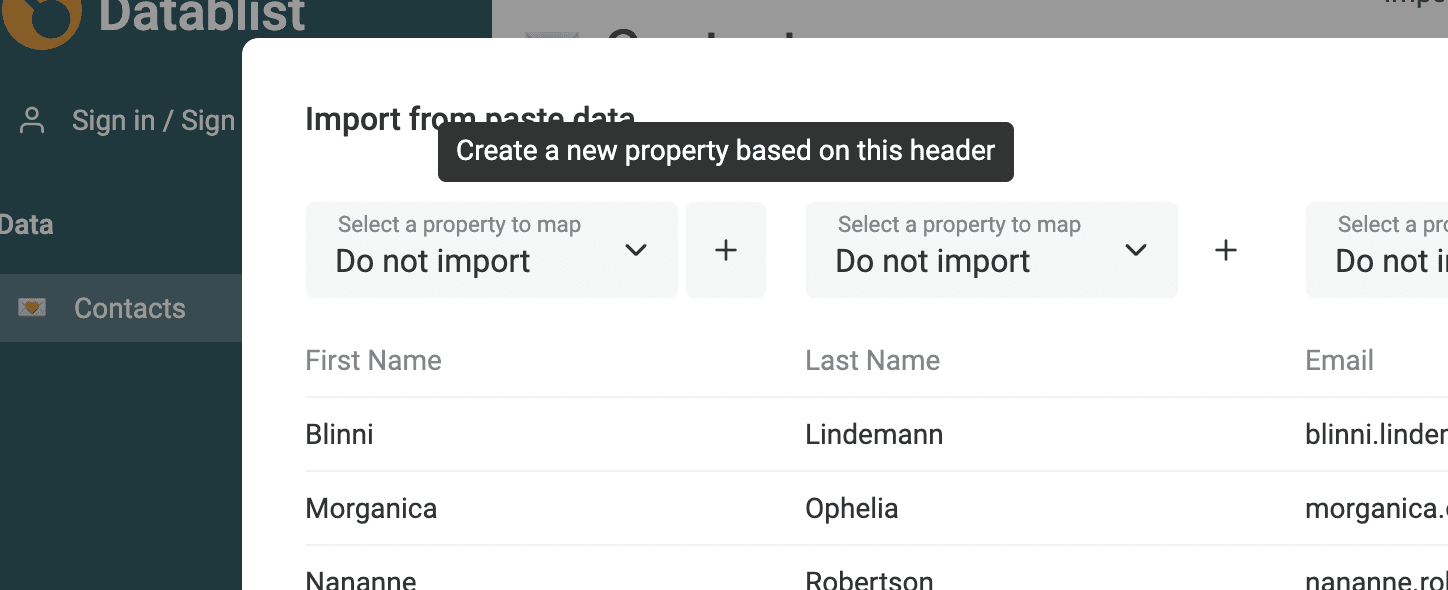
When your pasted data contains headers, a property will be automatically created using your header name. You will be able to edit it later.
For data without headers, clicking the + button will show an input to enter a property name.
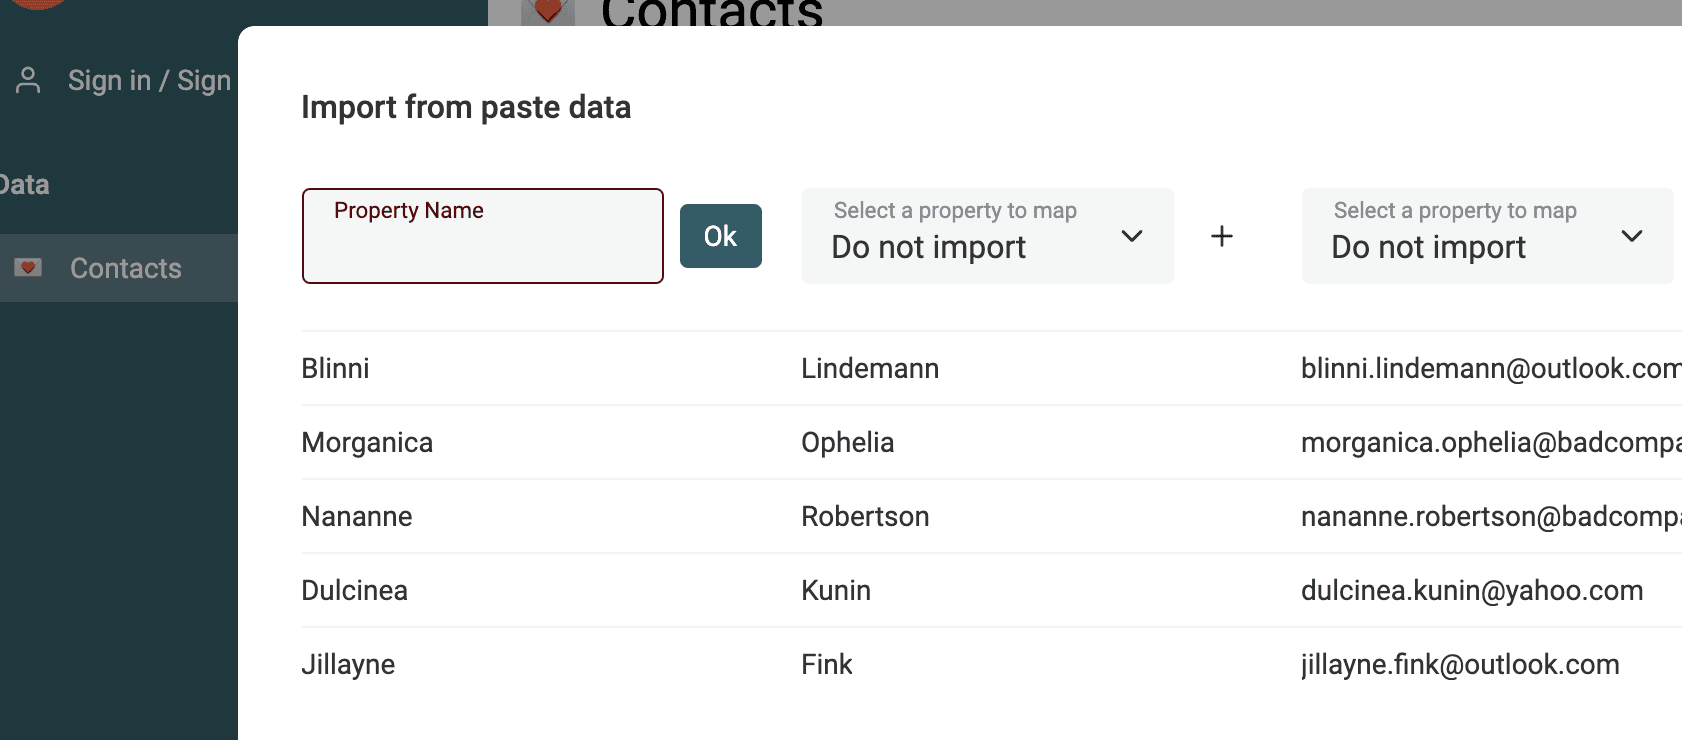
Once ready, click Import to run the import process.
Note: Pasting data containing a single line will overwrite selected cell text
Import Limits
Anonymous imports have a lower row limit. Create a free account to use the Free plan's higher limit.
Paid plans can import CSV and Excel files with up to 2 million rows per file. The Free plan has a lower import limit; check the limit shown in the import flow before processing a large file. An account's collection size limit is separate from the number of rows accepted in one import. If you prepare the file in Numbers first, check its per-table row limit and verify that the source records were not truncated before exporting. See pricing for plan details.